|
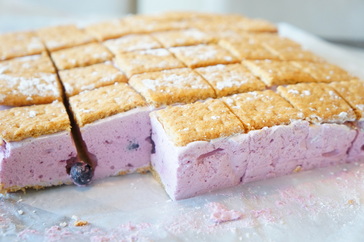
GRAHAM CRACKER SANDWICH MARSHMALLOW
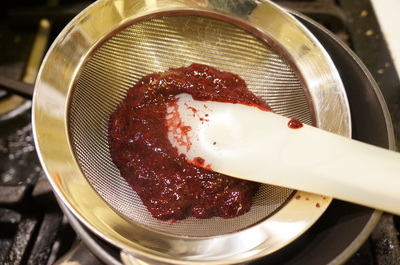
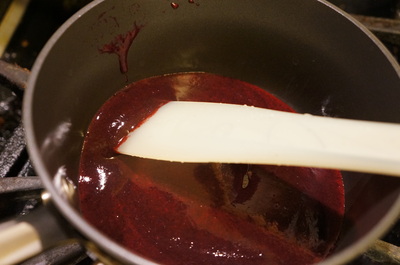
(Blueberry Marshmallow) Gelatin 2 tbsp Cold water 1/2 cup Corn syrup 1/4 cup Corn syrup 1/4 cup Water 1/4 cup Sugar 140g Salt 1/8 tsp Blueberry puree 1/2 cup Graham crackers 1 pkg (12 crackers) Fresh Blueberries 1/2 Coating for dusting (please see the Coating page) *No peanuts, tree nuts, milk, eggs, soy, wheat |
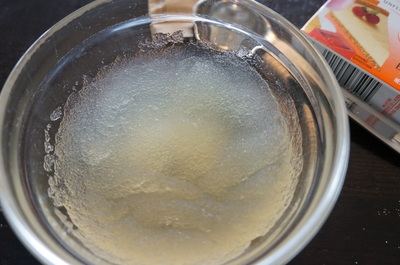
1. Sprinkle gelatin onto 1/2 cup cold water, wait 5 minutes. Microwave about 30 seconds.
2. Put gelatin and 1/4 corn syrup into the mixer and begin mixing in low.
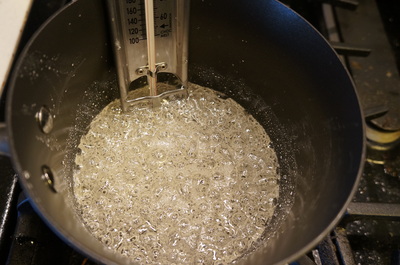
2. Put 1/4 corn syrup, 1/4 water, sugar, and salt to the pot and heat until 250F. (Set your candy thermometer after water starts to bubble)
3. Pour over the sugar syrup into the mixer. CAUTION! VERY HOT!
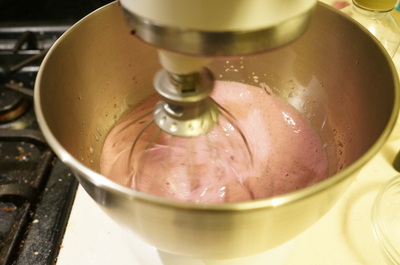
4. Set the mixer to 6 (medium speed) and beat for 5 minutes.
5. Increase the speed to 8 (medium-high speed) and beat for another 5 minutes.
6. Increase the speed to 10 (max speed) and beat 2 minutes.
Your basic marshmallow is done.
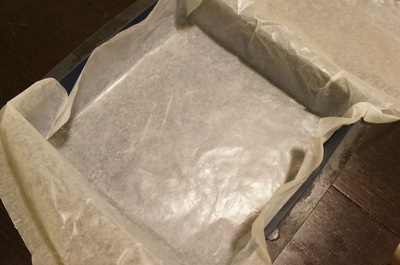
7. Spray oil to the mold. (I'm using 8 inch squire pan)
8. Mix in a drop of peppermint oil, a drop of green food color, and fold in the chocolate chips.
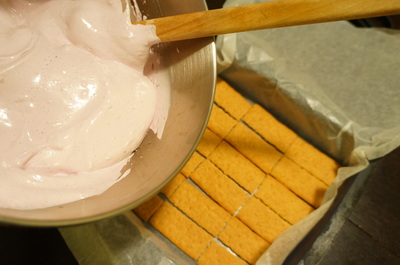
9. Pour over to the mold and smooth the surface of the white marshmallow in the pan.
10. Mix melted chocolate into the chocolate layer bowl. Mix well.
11. Pour on top of the white layer.
12. Drop a red food color to make the pink layer and mix it well.
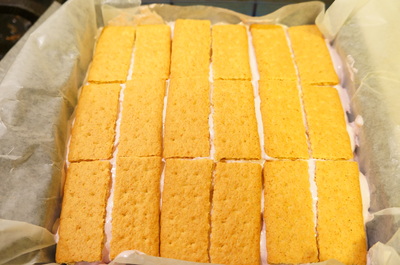
13. Pour on top of the chocolate layer.
14. Let it set about 6 hours.
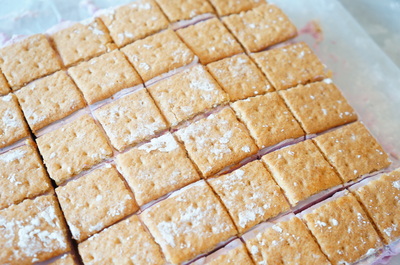
15. On coated surface, remove the marshmallow from the pan and slice them to show off its pretty layer. Spray oil and remove any marshmallow on the knife each time you slice.
* The key of making a layered marshmallow is to mix the marshmallows well BEFORE you pour over on top of each other.
Marshmallows will start to set and form its shape soon after it's done, but they will become smooth again when you mix it well.
(You do have to move quickly!)
This will make it easier to layer them flat for a pretty look.
* You can use strawberries instead of red food color.
Puree 1 cup (or less is fine) of strawberries and heat until it is reduced in half.
Pour over to the done marshmallow and mix well, like you did in chocolate layer.
|
|
|
|
|
